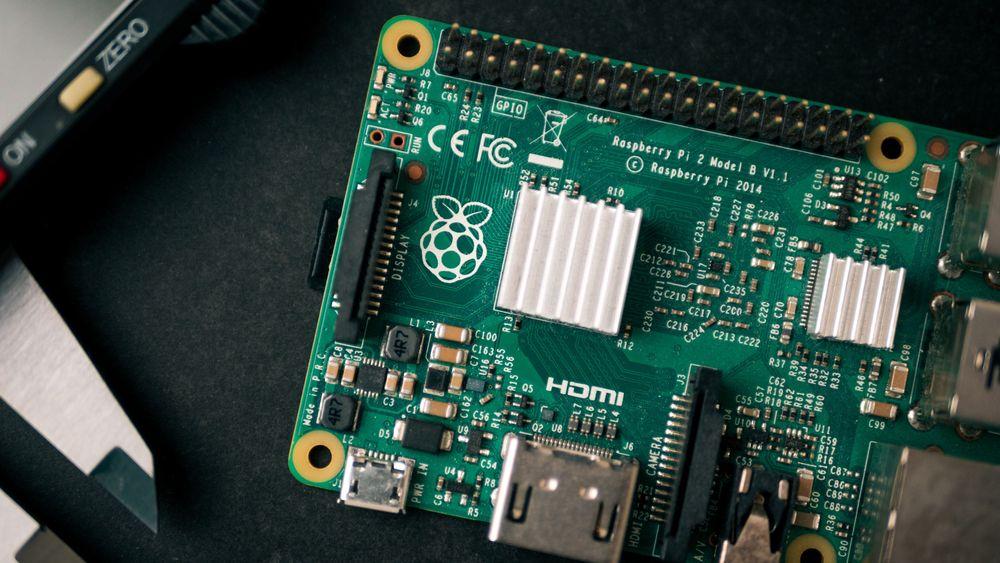
How to Deploy Flask Applications on Raspberry Pi
You often need a web interface for your Raspberry Pi projects. Flask is a Python framework that makes it easy to program web APIs. But then you need to add all the deployment steps to automatically run the Flask application. In this article I want to show how you can do this with Gunicorn, Nginx and a systemd integration.
Flask Application
Flask is a framework written in Python that makes it easy to quickly program REST APIs. It runs on a Raspberry Pi with the Raspberry Pi OS. For example, you can program an API that turns on an LED light by sending a POST request. POST is a request method of the HTTP protocol. Thus, you can connect your Raspberry Pi to your network, for example for home automation.
But there are a few more steps needed to run your Flask application smoothly. Also, you need to automatically run the Flask application when starting your Raspberry Pi.
Gunicorn
The developers of Flask recommend to use Gunicorn as an HTTP server for the Flask application when in production mode.
First, you need to install Gunicorn. I normally add it to the requirements.txt file, like so:
requirements.txt
flask==1.1.4
gunicorn==20.1.0
With pip3 install -r requirements.txt you can
install the dependencies.
Then you need to create a configuration file for Gunicorn, for example:
gunicorn_config.py
bind="0.0.0.0:8000"
workers=2
Then you can start your Flask application with Gunicorn, like in my case the Flask application is in app.py:
gunicorn app:app
This command runs our application at port 8000, but we would like to make it available at port 80 which is the standard port for web applications.
Thus, we need a web proxy, for which we use Nginx.
Nginx
Nginx is a popular open source web server and web proxy that was created by Igor Sysoev. We use it here as a proxy to our Gunicorn server.
You can install Nginx on your Raspberry Pi with
sudo apt-get install nginx
Then you need to enable it to run automatically at every start of your Raspberry Pi:
sudo systemctl start nginx
sudo systemctl enable nginx
The recommended configuration of Nginx as a proxy is like this:
/etc/nginx/sites-enabled/default
server {
    listen 80;
    server_name example.org;
    access_log  /var/log/nginx/example.log;

    location / {
        proxy_pass http://127.0.0.1:8000;
        proxy_set_header Host $host;
        proxy_set_header X-Forwarded-For $proxy_add_x_forwarded_for;
    }
  }
Systemd
The last step in our journey is to automatically run the Gunicorn server at every new start of the Raspberry Pi.
We achieve this by integrating Gunicorn into the Linux systemd service.
Systemd is used in most modern Linux systems to manage services. Whenever you start your Raspberry Pi OS the management of the correct execution of the services that need to run is done by systemd.
You need to create a new service for systemd in the folder
/usr/lib/systemd/system
The text file for the service needs to have a certain format and the required information:
your-name.service
[Unit]
Description=Your Service
After=multi-user.target

[Service]
WorkingDirectory=/home/pi/your/path
ExecStart=/home/pi/projects/your-app/venv/bin/gunicorn app:app &

[Install]
WantedBy=multi-user.target
You need to name the file to your service and add
the correct path where your project is located.
I use virtualenv, that is why gunicorn is started from
the /venv/bin folder.
Gunicorn is started with & so that it runs in the
background.
Now you can use systemctl to start and stop your service:
sudo systemctl start your-name.service
sudo systemctl stop your-name.service
In order to automatically start your server whenever Raspberry Pi boots, you need the following command:
sudo systemctl enable your-name.service
Conclusion
This completes our journey into the deployment of a Flask application. These steps can be a useful pattern whenever you need to make your Flask application run automatically on your Raspberry Pi.
References
-
Flask: https://flask.palletsprojects.com/en/2.0.x/
-
Gunicorn WSGI HTTP server: https://gunicorn.org
-
Nginx: https://www.nginx.com/
-
Systemd: https://www.freedesktop.org/wiki/Software/systemd/
Published
3 Feb 2022
